Okay.....I said that I would try and post something everyday....but that is not happening. Though I have lots of projects that I need to put on my blog, I need to make sure I have instructions, supply lists and materials before I post them. I completed this album this weekend... (And, I recreated the instruction for it).....So here goes......
Coffee Filter Album Instructions
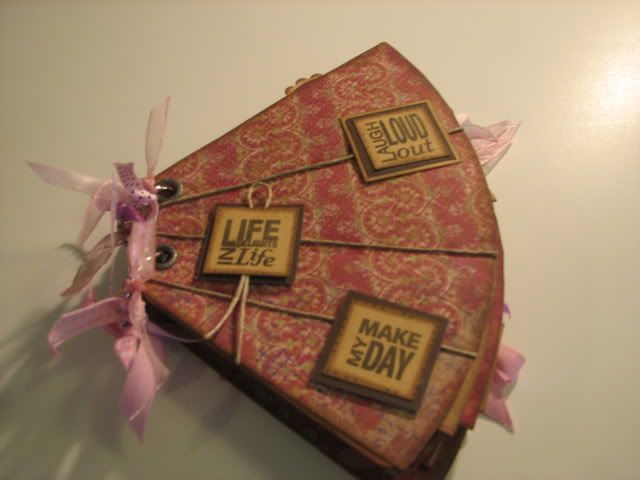
Grab some coffee filters and use these coffee filter album instructions to whip up a quick and easy scrapbook project. Use ordinary every day coffee filters that you can pick up from any supermarket store.
Grab some coffee filters and use these coffee filter album instructions to whip up a quick and easy scrapbook project. Use ordinary every day coffee filters that you can pick up from any supermarket store.
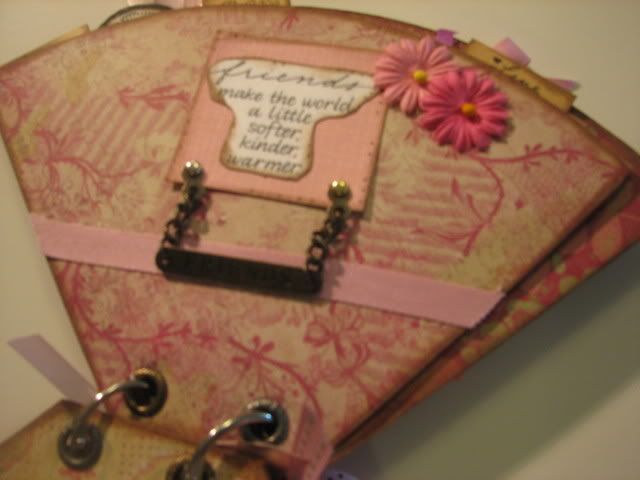
A coffee filter album is very similar to a paper bag album in that each filter used creates a pocket to hide extra tags or memorabilia. Coffee filters are pretty thin so I try to use cardstock or patterned card to cover it rather than thinner patterned paper.
Supplies
5 coffee filters (you can opt for more or less filters if you wish.
Ribbon or fibers to bind album together - (I used Binder Rings)
2 lengths of ribbon to tie off album
Paper trimmer or craft knife and metal ruler
bone folder or similar
Ribbon or fibers to bind album together - (I used Binder Rings)
2 lengths of ribbon to tie off album
Paper trimmer or craft knife and metal ruler
bone folder or similar
Eyelets or owire
Eyelet setter /Bind it all
Adhesive
Embellies...
Adhesive
Embellies...
Assemble the album
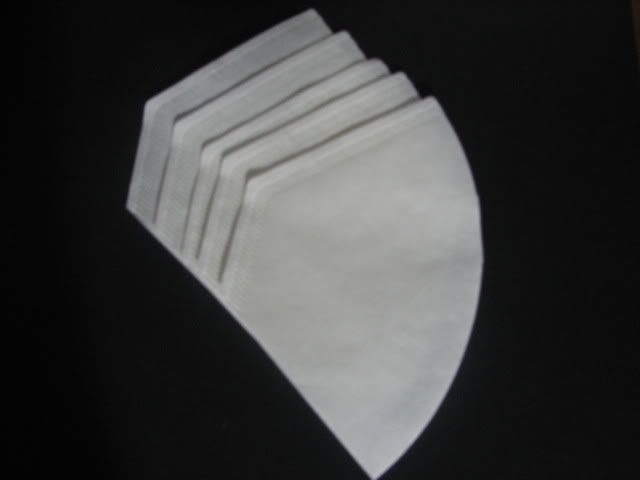 1. Take five coffee filters
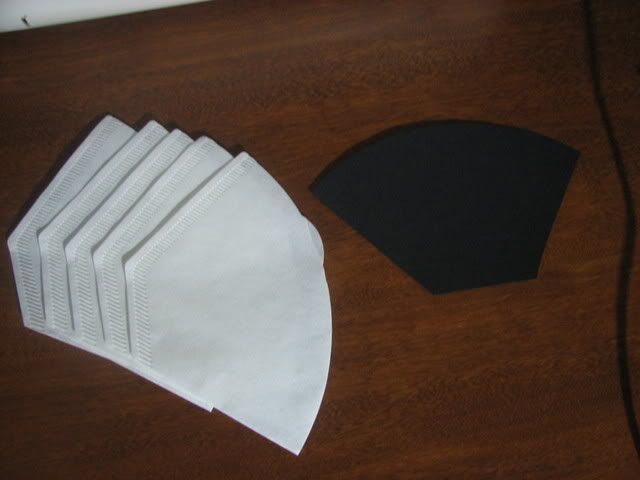 2. Trace the front and back panels of each filter on to patterned scrapbook paper or cardstock and cut them out. Most filters are not symmetrical so be sure to trace the right side. You should have 10 panels, 2 for each filter.
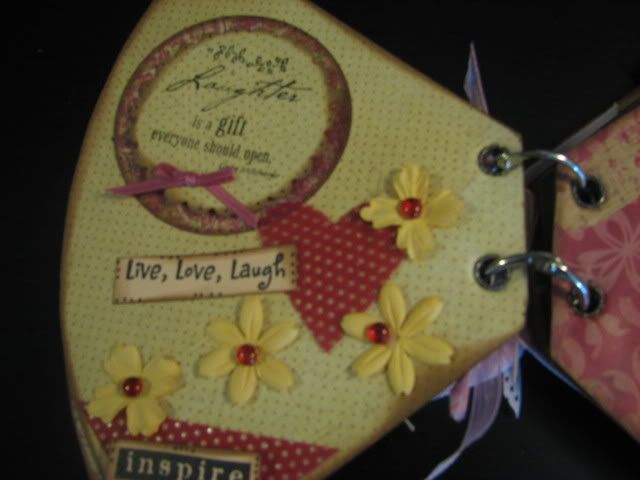
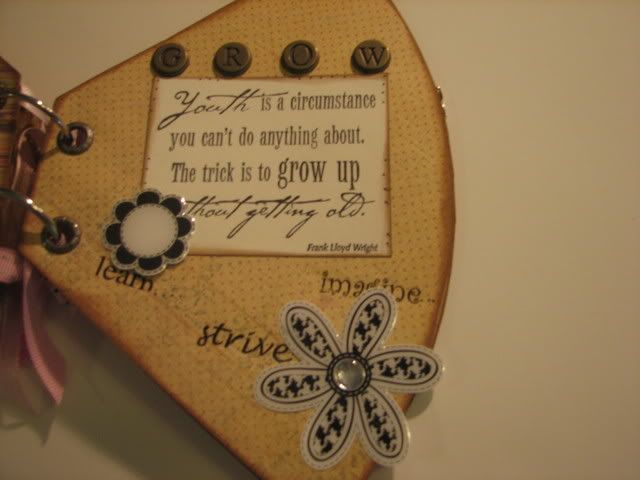
3. Adhere the front and back panels to each of the filters. You may wish to embellish each piece first or you may embellish after you have glued / taped the panels on.
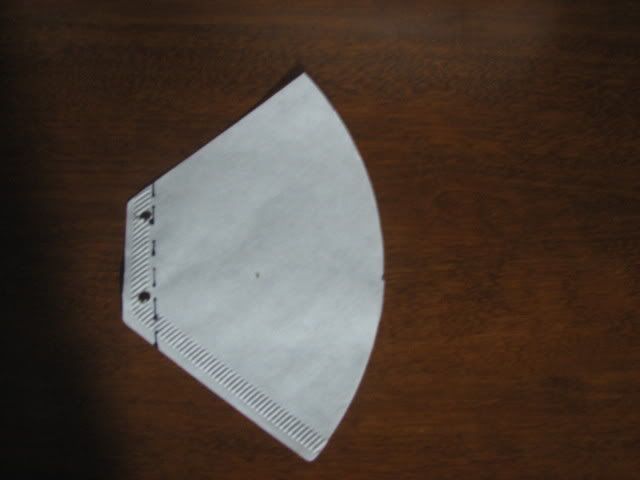 4. Score a fold along the dotted line approximately 3/4" to 1" in from the side to form the spine. Repeat for each of the covered filters.
To Bind the album
Bind your album in a number of ways including hand or machine stitching along the fold, blanket stitch along the fold, use brads, set eyelets, two or three holes punch and bind with ribbon, fibres, book rings or a combinations of all three.
 5. Trim 5 tags small enough to fit into each of the five pockets formed by the coffee filters.
1. Take five coffee filters2. Trace the front and back panels of each filter on to patterned scrapbook paper or cardstock and cut them out. Most filters are not symmetrical so be sure to trace the right side. You should have 10 panels, 2 for each filter.3. Adhere the front and back panels to each of the filters. You may wish to embellish each piece first or you may embellish after you have glued / taped the panels on.
4. Score a fold along the dotted line approximately 3/4" to 1" in from the side to form the spine. Repeat for each of the covered filters.To Bind the album
Bind your album in a number of ways including hand or machine stitching along the fold, blanket stitch along the fold, use brads, set eyelets, two or three holes punch and bind with ribbon, fibres, book rings or a combinations of all three.
5. Trim 5 tags small enough to fit into each of the five pockets formed by the coffee filters. If you use coffee filters shapes for the inserts, make sure they are smaller then the pockets.
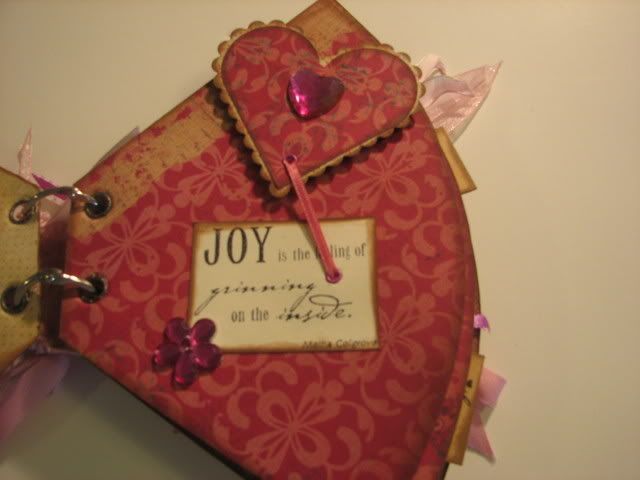
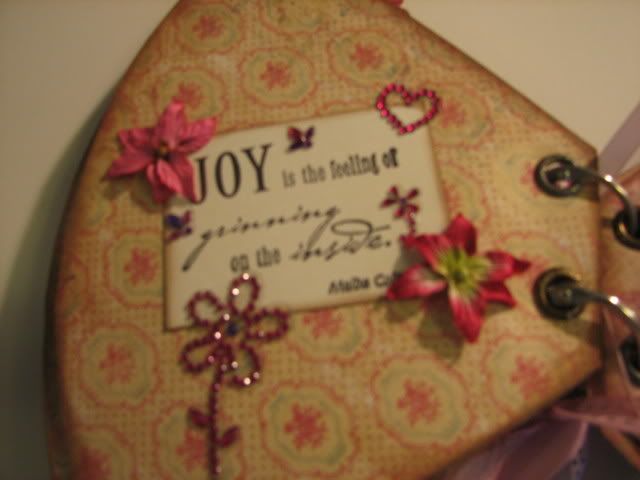
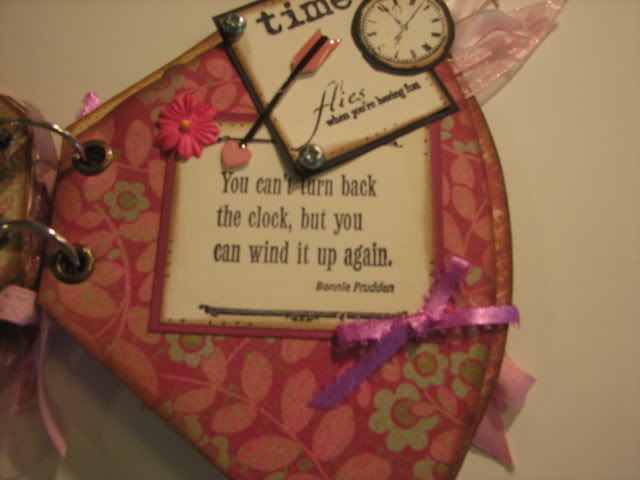
Embellish the tags and slip them into the pockets of your completed album. Note that these tags don't necessarily have to be the same shape as the filters. rectangular, round or any other shape tags will do just fine.
Tips
Experiment by binding from different sides of the album
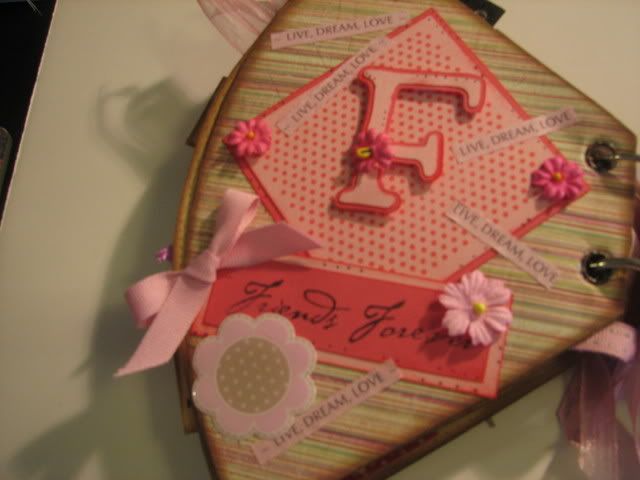
Take the shape of the coffee filter and use it to make a unique shaped album like a purse, skirt, apron.
Once you have glued the patterned paper to each filter you may want to machine stitch along the 3 sealed edges to reinforce your album
Tips
Experiment by binding from different sides of the album
Take the shape of the coffee filter and use it to make a unique shaped album like a purse, skirt, apron.
Once you have glued the patterned paper to each filter you may want to machine stitch along the 3 sealed edges to reinforce your album


 Click on the Blinkie and see Jeannie Phillips amazing creations.


31 comments:
What an interesting idea. Our coffee filters just look like a big circle/flower thing (not cone shaped like these) so I was confused...thanks for the pictures. Do the things you put in the pockets slide out when you turn the pages?
Your book is gorgeous!
Ms. Dee, what is it that you can't use to make a beautiful project with? Coffee drinkers look out. There may be a shortage of filters when we scrapbookers get a hang of this album. These albums are just adorable. GREAT IDEA.
Gin
I will have to try this. I think it looks very interesting. TFS!
Oh and I forgot to say, yours is beautiful
How stiff are those pages? They look awesome!
Oh my goodness that is fabulous! I love the step by step instuctions! You rock girl!!!
Melissa Allore
Thanks for the instructions on this one, it is adorable.
Your book is fabulous and thank you for the tutorial. Love the colors and the different embellishments that you used. Fantastic!
Wow! Great job! I love the details on this little album. Thanks for the step-by-step photos also!
What a cool idea! Thanks for sharing.
Make sure you tell your daughter a BIG THANK YOU for all she has done and is willing to do. I cannot imagine what it would be like for you while she was in Iraq.
I love this! Your instructions are so easy to follow. Love the tips and suggestions for different ways to decorate (ie: purse, apron, etc)
This is awesome, I love the colors and embellishments that you used on this project.
What a clever idea...I have not seen these before! Pretty!!!
Seisa from the Cricut mb
wow this takes recycling to a new level lol what a fabulous idea and one I have to try.
this looks wonderful i love the colors.
great idea.
jennie
cambogroup@hotmail.com
oh my gosh....
love love your coffie filter
book, it is porecious, you have so many ideas, you are a very talented young lady...
your instructings are so easy to read, thanks a cig bunch..
god bless,
theresa-marie
theresatauscher@yahoo.com
fron the cricut board. so glad your daughter is home, iraq is a terrible place to be, i am sure her family is happy to have her home.
This is on my list of stuff to try.... I'll have to let you know how it goes.
I was at WalMart yesterday and had to slow down at the coffee aisle...I almost bought some of these filters, but since I also decided to try an acrylic album (a la Dee!), I figured I'd better wait. We'll see how good the next shopping trip goes :o)
What a super coffee filter idea - I have got to try that. TFS
pammie~k
I love the shpae and colors - my favorite. Looks like an antique fan.
Oh how cute is this. Such great instructions, too. TFS!!
Ladybug Linda (from Cricut MB)
How ironic, I just bookmarked a site for future use on making a coffee filter album, thought it would make a cute class project. Thank you so much for including pictorial instructions, I am one of those that need to see, to learn! So cute,!
Lisa
"CaLisa on Cricut MB"
I like the name of the coffee filter album. What a great idea!
This is fabulous!! I have seen this kind of album before and I need to try to make one. Thanks for sharing it with us.
I love your coffee filter album, I'd never seen anything like it.
Your instructions are wonderful and I'm so glad that you include pictures. It makes it so much easier to follow along.
Thanks,
Maria
The colors are absolutely beautiful! What a pretty album.
I have tons of coffee filter in my pantry I may need to try this!! I'm still new at paper crafting so your blog will help me in a big way to try different things!!
I am loving these Dee. Thank you for the instructions, you did a great job.
"Um Buggin"
I still haven't tried this one, but I'm hoping to try a lot of things off your blog as soon as I move..
Well written article.
Post a Comment