Showing posts with label Albums. Show all posts

Monday, July 28, 2008

What Am I Working On Now???????

$1 Store - Mini Photo Album...........

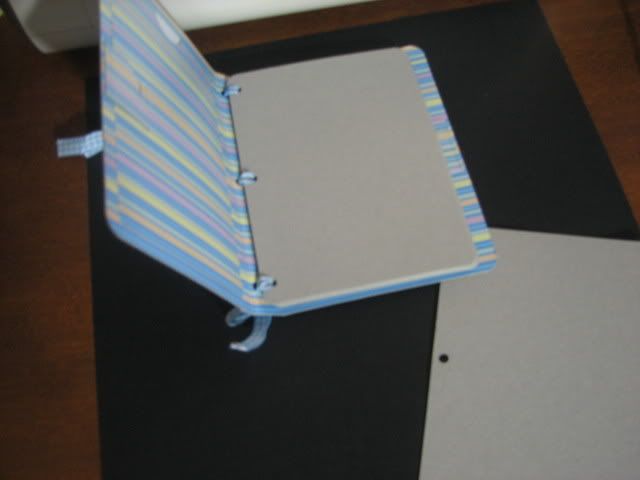
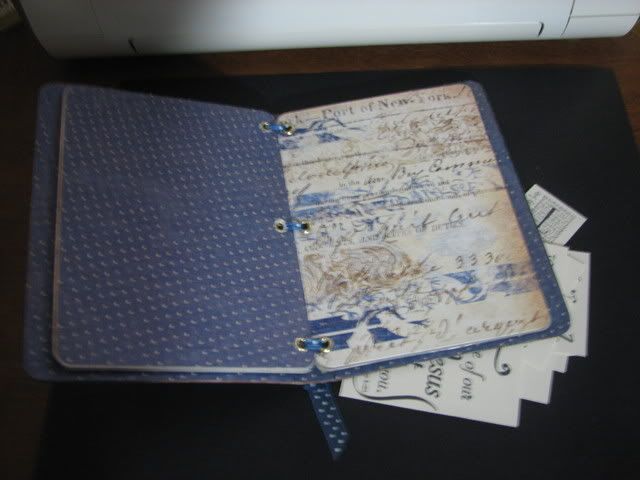
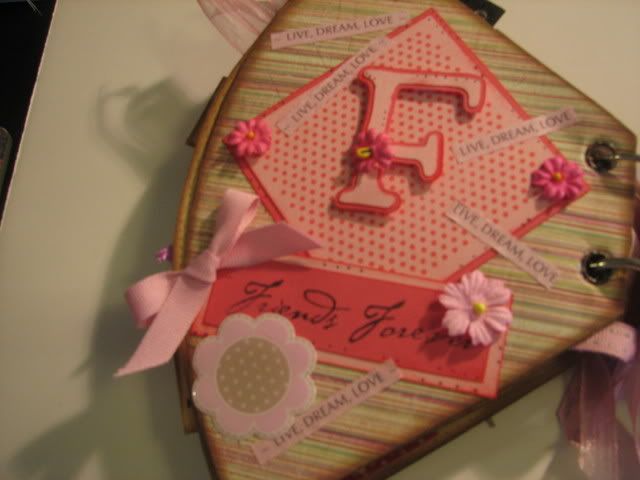
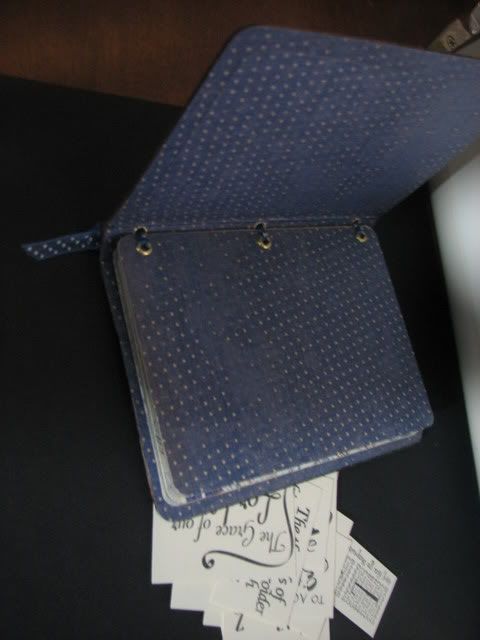
Okay, Some of you asked "What am I working on now"?.....I am actually working on several projects, but, I will show you one of them...this is still a work in progress.....I ran across a Mini Photo Album in the $1 Store and it looked like it had the potential to be a very nice gift book...I picked up about 4 of them...Now I have to go back and see if I can get more....
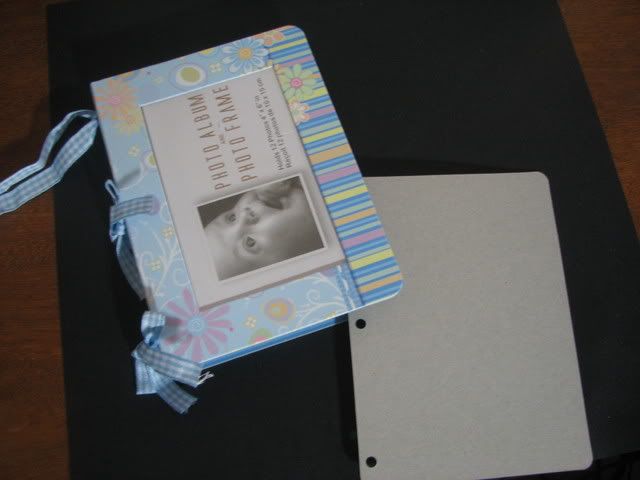
(Click on pic for larger image...)
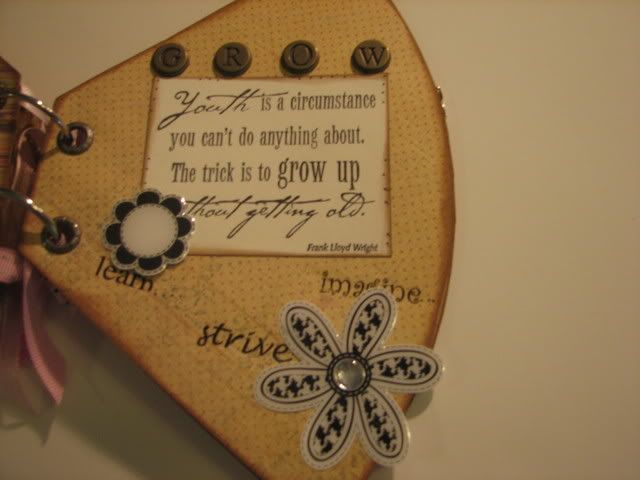
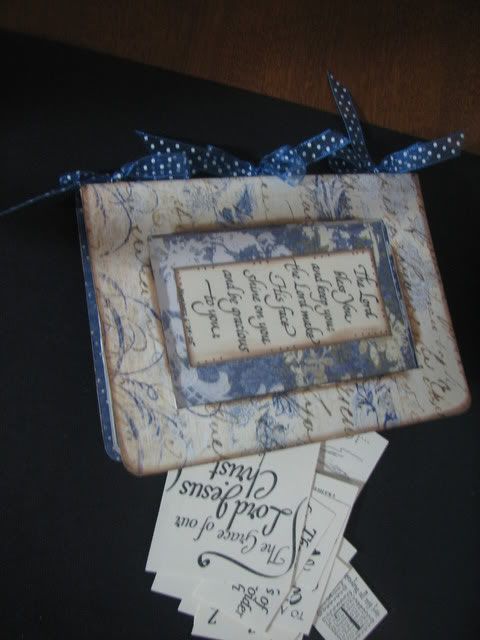
I decided to alter it and fill it with bible verses....This is not complete yet....but I have covered it and placed the Bible verse in the front....Okay, off to a good start... I think.....I don't know how it will look when it is complete....but I will post pics of the finished product....when it is finished.....

These are pics of the album altered....BUT NOT YET COMPLETE......I took it apart....traced it on K&Company Doubled-sided paper,replaced the ribbons to match my decor and picked some bible verses to use on each page....
Wednesday, July 23, 2008

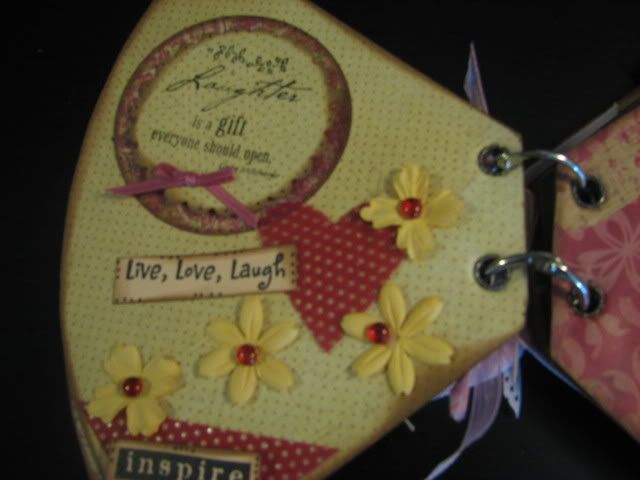
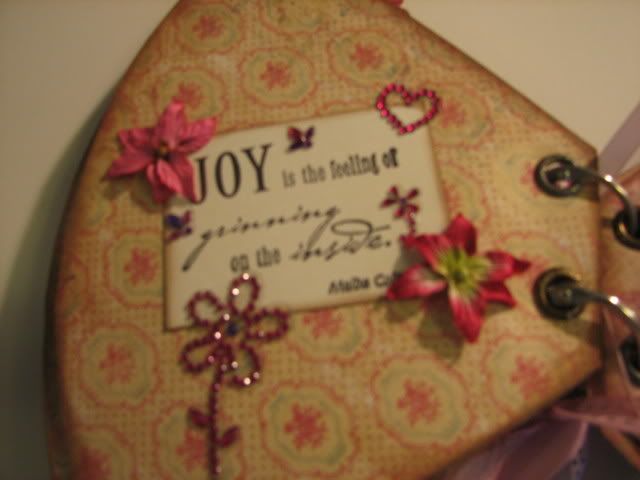
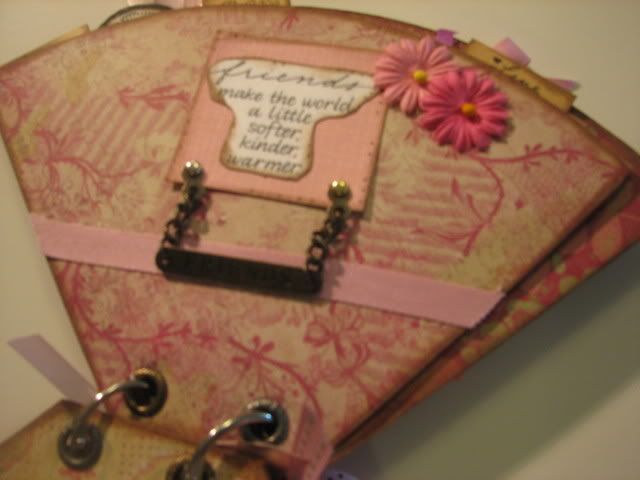
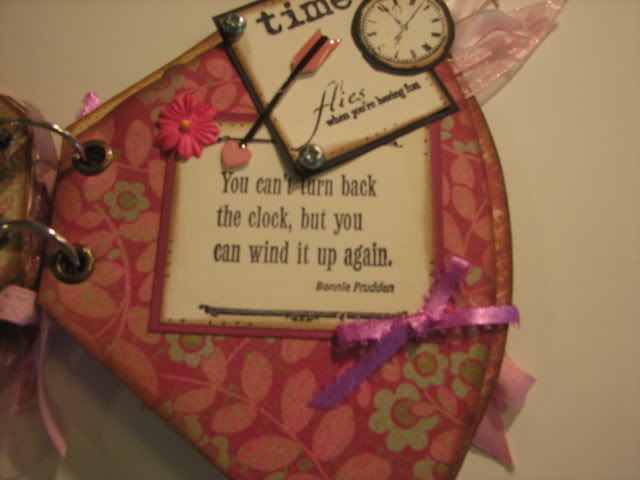
Coffee Filter Album


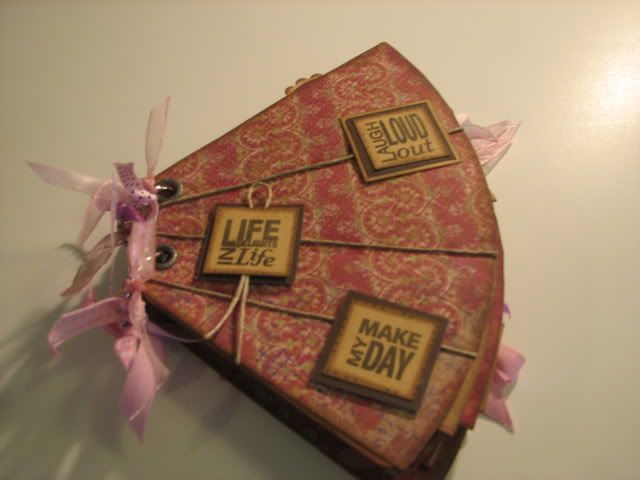
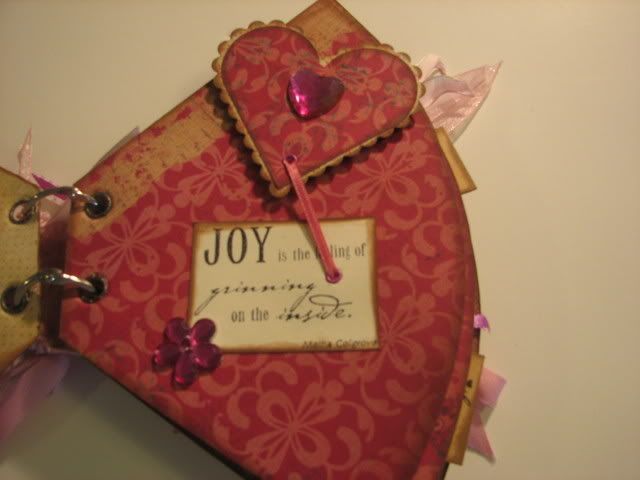
Okay.....I said that I would try and post something everyday....but that is not happening. Though I have lots of projects that I need to put on my blog, I need to make sure I have instructions, supply lists and materials before I post them. I completed this album this weekend... (And, I recreated the instruction for it).....So here goes......

Coffee Filter Album Instructions
Grab some coffee filters and use these coffee filter album instructions to whip up a quick and easy scrapbook project. Use ordinary every day coffee filters that you can pick up from any supermarket store.
A coffee filter album is very similar to a paper bag album in that each filter used creates a pocket to hide extra tags or memorabilia. Coffee filters are pretty thin so I try to use cardstock or patterned card to cover it rather than thinner patterned paper.
Supplies
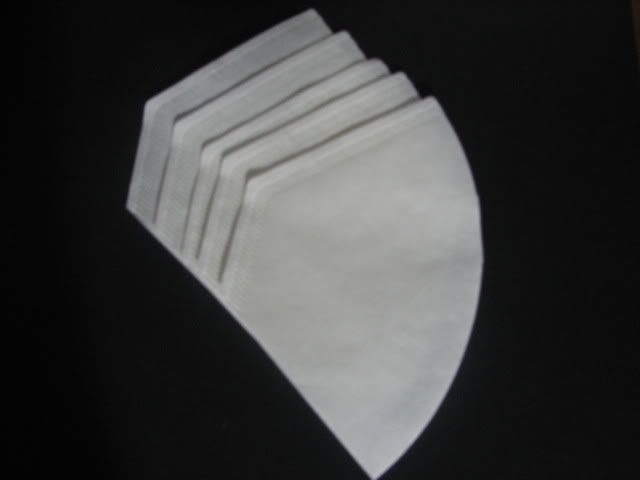
5 coffee filters (you can opt for more or less filters if you wish.
Ribbon or fibers to bind album together - (I used Binder Rings)
2 lengths of ribbon to tie off album
Paper trimmer or craft knife and metal ruler
bone folder or similar
Eyelets or owire
Eyelet setter /Bind it all
Adhesive
Embellies...

Assemble the album
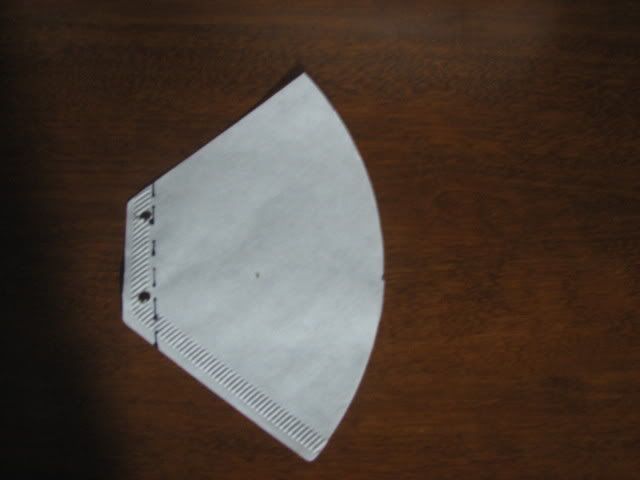
1. Take five coffee filters
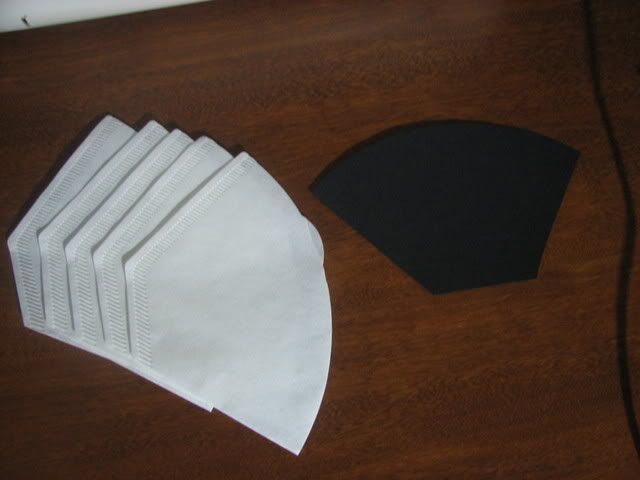
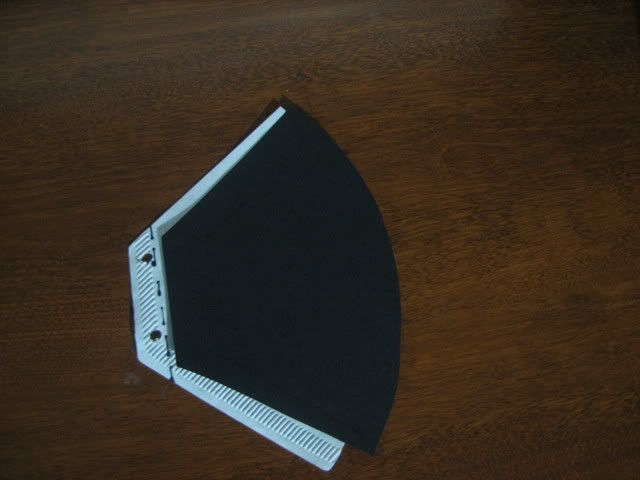
2. Trace the front and back panels of each filter on to patterned scrapbook paper or cardstock and cut them out. Most filters are not symmetrical so be sure to trace the right side. You should have 10 panels, 2 for each filter.
3. Adhere the front and back panels to each of the filters. You may wish to embellish each piece first or you may embellish after you have glued / taped the panels on.
4. Score a fold along the dotted line approximately 3/4" to 1" in from the side to form the spine. Repeat for each of the covered filters.

To Bind the album
Bind your album in a number of ways including hand or machine stitching along the fold, blanket stitch along the fold, use brads, set eyelets, two or three holes punch and bind with ribbon, fibres, book rings or a combinations of all three.
5. Trim 5 tags small enough to fit into each of the five pockets formed by the coffee filters.
If you use coffee filters shapes for the inserts, make sure they are smaller then the pockets.

Embellish the tags and slip them into the pockets of your completed album. Note that these tags don't necessarily have to be the same shape as the filters. rectangular, round or any other shape tags will do just fine.

Tips
Experiment by binding from different sides of the album
Take the shape of the coffee filter and use it to make a unique shaped album like a purse, skirt, apron.
Once you have glued the patterned paper to each filter you may want to machine stitch along the 3 sealed edges to reinforce your album
Related Posts with Thumbnails

2011- "Sustaining the Dream"- Tribute to Martin Luther King

Tim Holtz "Embrace Art" Texture Fade Mini